"Resize without losing quality" is one of the most-searched image phrases on the web — and one of the most misunderstood. The honest answer is that resizing always involves a trade-off, but if you pick the right method and the right output format, nobody who opens the file will be able to tell. This guide walks through what actually happens when you resize an image, why downsizing and upscaling are completely different problems, and how to do both in your browser without uploading the file anywhere.
Why resizing changes quality at all
Every image is a grid of pixels. When you "resize" it, the computer has to synthesize a new grid at a different resolution. The new grid doesn't have the same pixels as the old one, so the software has to guess — a process called interpolation.
For downsizing (making an image smaller), interpolation blends groups of source pixels into each destination pixel. Modern algorithms like bicubic or Lanczos are good enough that the result almost always looks as sharp as the original to a human eye.
For upscaling (making it bigger), interpolation has to invent pixels that were never there. No algorithm can recover detail that wasn't captured — the best it can do is smooth edges and fake detail. That's why a 100×100 thumbnail scaled to 1000×1000 looks soft or plasticky: the extra detail doesn't exist anywhere for the computer to read from.
Downsize a 4000×3000 photo to 1200×900 and you lose essentially zero perceived quality. Upscale a 500×500 to 2000×2000 and you always lose sharpness — even with AI tools. These are two different problems.
Downsizing vs upscaling — different problems, different tools
Most people search for "resize image without losing quality" with one of two tasks in mind:
- Downsizing. "My phone saves photos at 4000×3000 and my web host wants 1920×1080." The easy case. Any modern resizer handles this losslessly-looking, and it's usually the right move — a 4 MB photo becomes a 400 KB photo, pages load faster, everybody wins.
- Upscaling. "I have a small logo and I need a 2× print resolution." The hard case. No traditional resizer can invent detail.
Toolbelt's Resize Image is a traditional resizer — excellent at downsizing, can also upscale, but for serious AI-style upscaling on a bad source image, no browser-based tool (including ours) will match a dedicated AI upscaler. If that's you, honest recommendation: use Upscayl (free, open source, runs locally on your machine) for the upscale, then bring the result back here for any format conversion or further downsizing.
More: bicubic vs Lanczos vs AI upscaling — which algorithm matters
You've probably seen these terms. Here's the practical cut:
- Bicubic — the default in most software (including the browser's canvas API). Takes 16 surrounding source pixels per destination pixel. Good balance of speed and sharpness. Fine for 95% of web work.
- Lanczos — slightly sharper than bicubic on hard edges, slightly more prone to "ringing" (halos around sharp lines). Use it for downsizing illustrations with crisp strokes.
- Nearest-neighbour — picks the single nearest source pixel. Fast, blocky, ugly for photos. The only place it's the right answer is pixel art (retro game sprites) where you want the chunky square look.
- AI upscaling (ESRGAN, etc.) — uses a neural network trained on millions of images to hallucinate plausible detail. The only method that can genuinely add sharpness to an upscaled image. Slower and can produce uncanny artifacts on faces.
Toolbelt uses the browser's built-in canvas resizer, which is bicubic by default. For 95% of resize tasks — "make my photo smaller for an email" — this is exactly the right tool, with speed in the tens of milliseconds even on big files.
The output format matters more than the algorithm
Here's the thing nobody mentions: the compression format you save to after resizing usually has a bigger effect on perceived quality than the resize algorithm itself. A 2000×1500 photo saved as PNG is almost always ~10× larger than the same image saved as JPEG at 85% quality — and no human eye can tell them apart.
Quick decision tree:
- Photos (smooth gradients, faces, landscapes): JPEG at 80–90% quality, or WebP at 80–85%. Both beat PNG for file size at matching visual quality.
- Screenshots, logos, UI mockups (sharp text or flat color): PNG. JPEG compression artifacts are very visible around text.
- Web-first, modern browsers only: WebP beats JPEG on file size by 15–30% at matching visual quality. Safari has supported it since 2020, so it's safe in 2026.
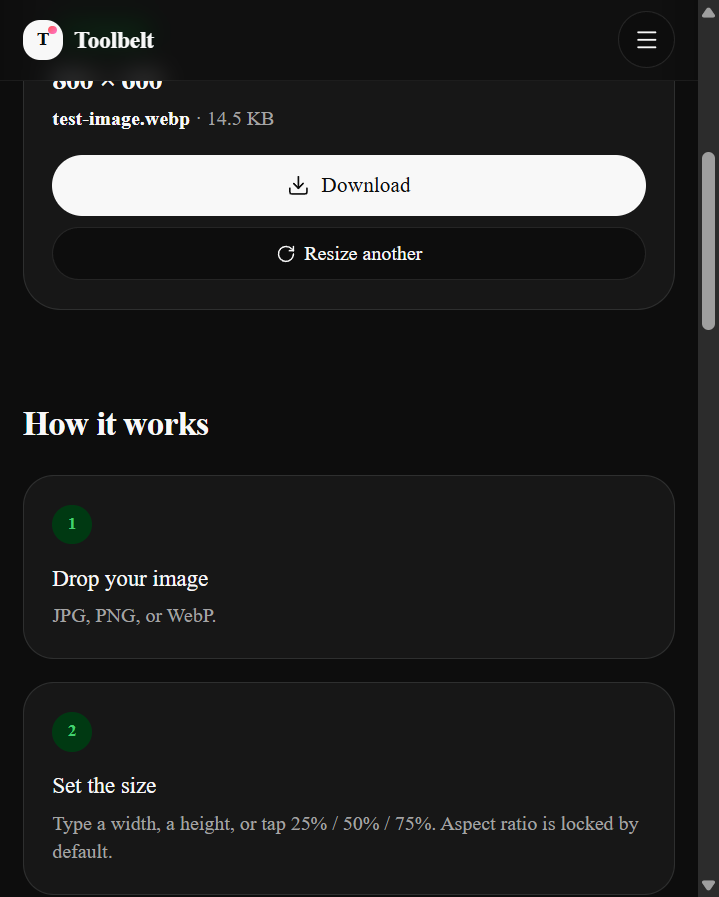
Toolbelt's resizer lets you switch format at the same time as resizing — one action instead of two tools. Our test run below starts with a 104 KB JPEG and outputs a 14.5 KB WebP — an 86% file-size reduction, mostly from the format change, not the resize alone.
Resize in your browser (no upload, no account)
Here's the end-to-end flow on the live tool.
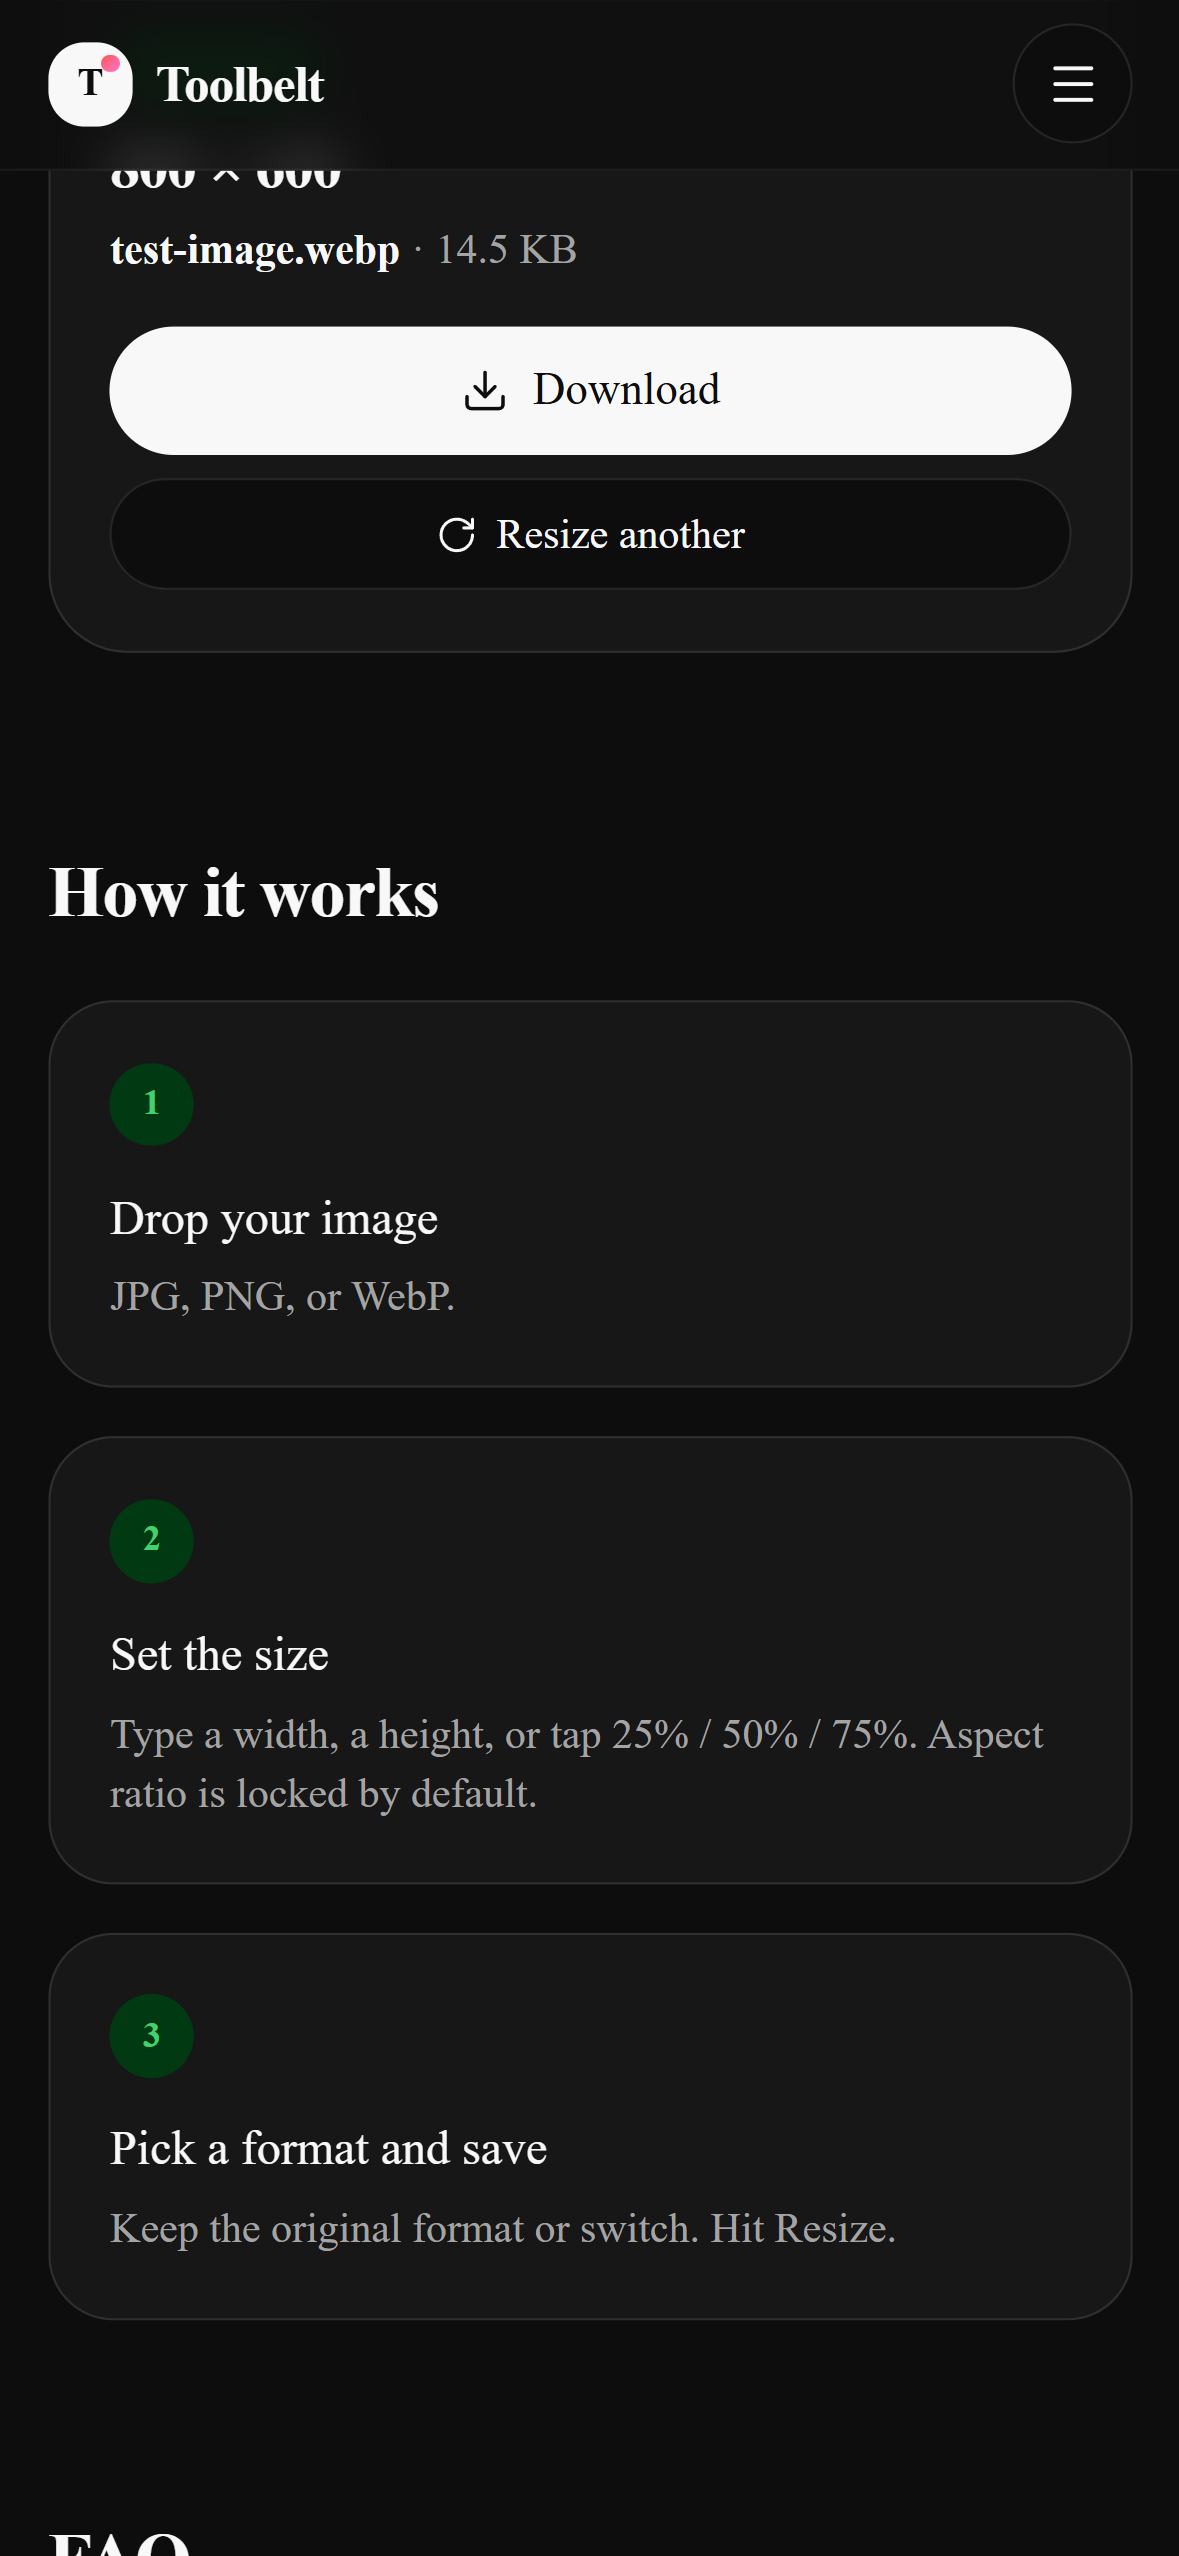
- Drop your image
Drag from your desktop or click browse your computer. JPG, PNG, and WebP all work, up to 50 MB per image. The tool reads the file into memory and shows the native dimensions immediately.
- Choose a target size
Type a width, type a height, or tap one of the 25% / 50% / 75% quick-pick buttons. Aspect ratio is locked by default so you don't accidentally stretch the image — uncheck the lock if you deliberately want to squash it.
- Pick an output format and quality
Keep the original format (JPG → JPG) or switch (JPG → WebP is usually the smart move for web). A quality slider is available for JPG and WebP (PNG is lossless, no slider). 82% is a good default for photos — visually indistinguishable from 100% but 3–4× smaller.
- Hit Resize image and download
The tool runs the bicubic resize + format encode in a few hundred milliseconds. You get a preview, the exact output dimensions, the output filename, and the final file size. Hit Download and you're done.
Resize any image to exactly the size you need.
How to verify no upload happened (15 seconds)
Any claim about "privacy" from an upload-based tool is asking you to trust them. With a client-side tool, you can verify it yourself.
- Open DevTools
Press F12 (Windows / Linux) or ⌘⌥I (Mac). Switch to the Network tab.
- Clear the log
Hit the 🚫 Clear button or reload the page so the log is empty.
- Use the tool, then watch the log
Drop your image in, set a size, click Resize image, click Download. Watch what shows up during those few seconds.
When you actually need desktop software
Sometimes the browser isn't the right tool. Toolbelt handles single-image resize + format switch in seconds, which covers most needs. The following genuinely need desktop software:
- Batch processing hundreds of images — ImageMagick (
mogrify -resize 50% *.jpgis one line) or Adobe Bridge. - Multi-layer PSD / XD / Sketch files — the browser doesn't know what a layer is. Export flattened first, then resize here.
- Color-managed prep for print (CMYK, ICC profiles) — Photoshop / Affinity Photo. Browsers treat everything as sRGB.
- Face-aware AI upscaling for old scans — Upscayl or Topaz Gigapixel.
If none of those apply, the browser is the right answer — and it's dramatically faster than opening a 2 GB desktop app for one resize.
Resizing on mobile — a slightly different story
About half of you will land on this guide from a phone. Good news: Toolbelt's resizer works the same on iOS Safari and Android Chrome as on desktop — same bicubic quality, same format options, same result.
The one caveat is memory. Phones have less RAM than laptops, and a 50 MP photo (8000×6000 pixels) takes about 800 MB as a decoded canvas. That's fine on a current-gen iPhone or Pixel but can crash Safari on a 2018 phone. If the resizer silently fails on a big photo, the reason is almost always memory — compress on desktop, or resize in two steps (first to 50%, then to your final size).
Why this site doesn't upload your files
I'm Shahzaib Hassan, an AI automation engineer in Lahore. I started building Toolbelt partly because I was tired of the same pattern: searching for a simple file tool, landing on a page that wants an account, uploading a sensitive photo, and ticking a "you won't train a model on my face, right?" checkbox on trust. The tools here all run client-side because they can — resizing an image is just math, and your browser does math just fine. If a tool on this site ever needs your data to leave your device (some AI tools will, eventually), it'll be upfront about it and the data will go directly from you to the provider you choose, not through us.
Frequently asked questions
What's the maximum image size Toolbelt can resize?
Does it keep EXIF data (camera, date, GPS)?
Why does my downsized photo look a little blurry?
Can I resize an image to a specific file size (say, 'under 2 MB')?
Does Toolbelt upscale with AI like Topaz or Upscayl?
Can I resize multiple images at once?
mogrify -resize 1200x900 *.jpg is the fastest CLI option.What about animated GIFs and SVGs?
width/height attributes directly in a text editor — it's a one-line change.Resize any image to exactly the size you need.